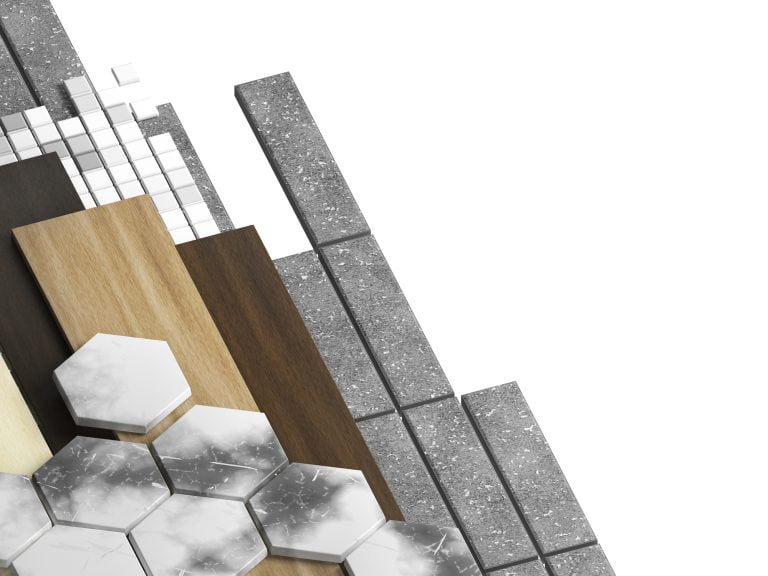
Hardwood floors can enhance your Los Angeles home’s value and appearance considerably. Over time, however, all hardwood floors go through general wear and tear. You might notice scuffs, blemishes, and scratches. The initial sheen of hardwood flooring eventually gives way to a duller appearance. Once the flooring loses its luster, consider refinishing the material instead of replacing it. Here’s a step-by-step guide on what a hardwood floor refinishing project entails.
Have the Right Tools
First, it’s important that you have the right tools for this project, which include the following:
- Hammer
- Utility knife
- Orbital sander
- Drum sander
- Buffer
- Mop
- Shop-vac
- Plastic sheeting
- Tack cloth
- Wood stain
- Polyurethane sealant
- Sandpaper with 40-100 grit
- Hardwood floor cleaner
- Painter’s tape
- Wood filler
Acquiring these tools yourself can cost a lot of money, which is why you should hire a handyman company instead.
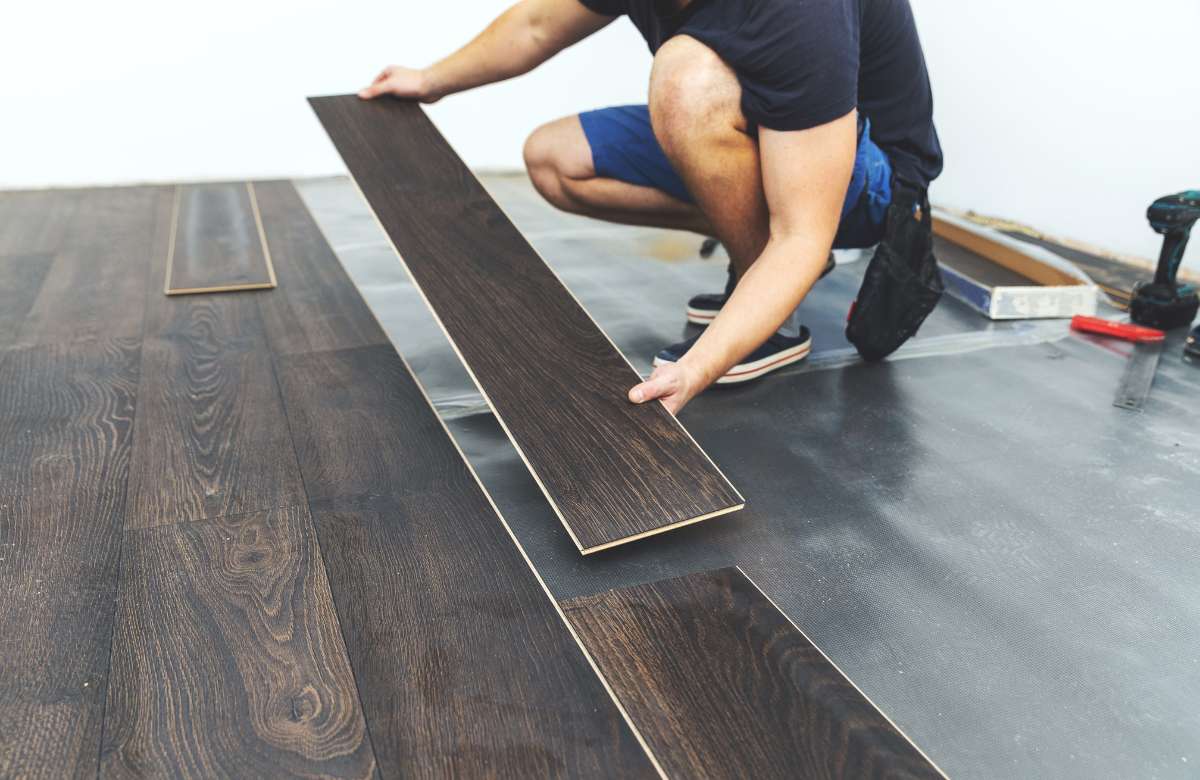
Step 1: Ready the Room
The initial step involves preparing the room that contains the hardwood flooring. First, move all the furniture and rugs to another area. Once there’s nothing left on the floors, consider using finishing nails to properly secure loose floorboards. If there are any air vents in the room, cover them to keep sanding dust away from your ductwork. Clean your floors with a mop as well. If you hire a local handyman company, they can perform these tasks for you.
Step 2: Remove Molding
After you complete the preparation, remove the shoe molding around the wall-floor joint. This step is necessary before you sand the floor. You can remove molding with a pry bar, which helps protect the baseboard. Whenever you obtain a piece of molding, make sure you label it to keep track of everything. If you don’t have shoe base molding in your room, you can get rid of the regular molding.
Step 3: Sand Different Areas of Flooring
The most important aspect of any hardwood floor refinishing project involves sanding the flooring. Sanding can remove stains and scratches from hardwood flooring. However, it might not get rid of deep gouges or severe discoloration. In this scenario, use a coarse abrasive that’s around 40 grit with a belt or drum sander.
Regardless of the quality of your floors, you should consider using an abrasive that comes with a zirconia grain. Zirconia offers a great performance at a reasonable price. It’s also better for hardwood floors than a ceramic abrasive. After using a 40-grit abrasive to remove damage, move to a 60-grit or 100-grit abrasive. You should sweep your floor before switching to a new grit. Keep in mind that you should sand the corners and edges in your home as well. This process is possible with an orbital sander.
Related Article
Eco-Friendly Flooring Material: Why Choose Linoleum?
If you’re doing your part to protect the environment and use sustainable building materials in
Step 4: Screen-sand with Buffer
Once the rough sanding occurs, you can screen-sand the floor with a floor buffer. This type of machine is capable of leveling the surface and smoothing the edges. It can also get rid of any remaining scratches.
Step 5: Apply Stain
This step involves applying stain to the flooring, which changes the color of the material. While white and red oak materials are easy to stain, maple and birch wood are more challenging. The room needs to have substantial ventilation during the staining process.
You can apply this substance with a foam carpet pad or small paint brush. Work slowly to ensure consistent results. If you use a water-based stain, it should take around four to six hours to dry. Stains with gel or oil can take anywhere from 12-24 hours to dry.
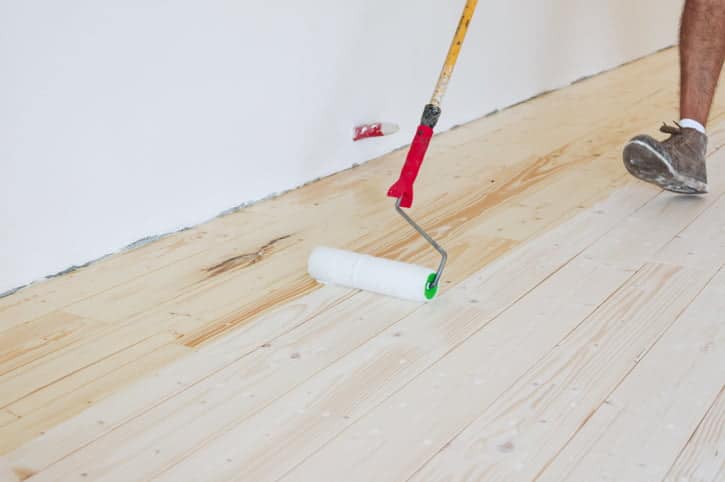
Step 6: Apply Finish
The final step in this process involves applying a finish, which is often an oil or water-based polyurethane. Water-based finishes dry very quickly, which can create problems when applying the finish. While oil-based polyurethane dries at a slower rate, it creates more fumes.
Apply anywhere from three to four coats of the finish. No matter the finish you use, it can take as long as 24 hours to dry. Make sure it dries completely before you apply another coat. Once the finish dries, you can reattach the molding.
Even though it’s possible to perform this project yourself, it takes a considerable amount of time and money. There’s also a good chance that you’ll make a costly error. It’s best to leave your hardwood floor refinishing project to a local handyman company. Get in touch with Teamwork Home Services today to request our hardwood floor refinishing services.